I want to start this off by saying there is no wrong or right away in editing an image - just a final image that you may or may not like. Beauty is in the eye of the beholder. Hopefully, I can take you on a step by step process on how I get a raw image to a place where I think is good enough to share with the world.
Before we begin, you are going to need a raw image. I was lucky enough to go on a successful trip to the Sahara desert and witness the stars with no light pollution. I truly advise if people have the luxury to do this, please do. It was such a wonderful adventure, you can read the full blog here: Journey into the Sahara.
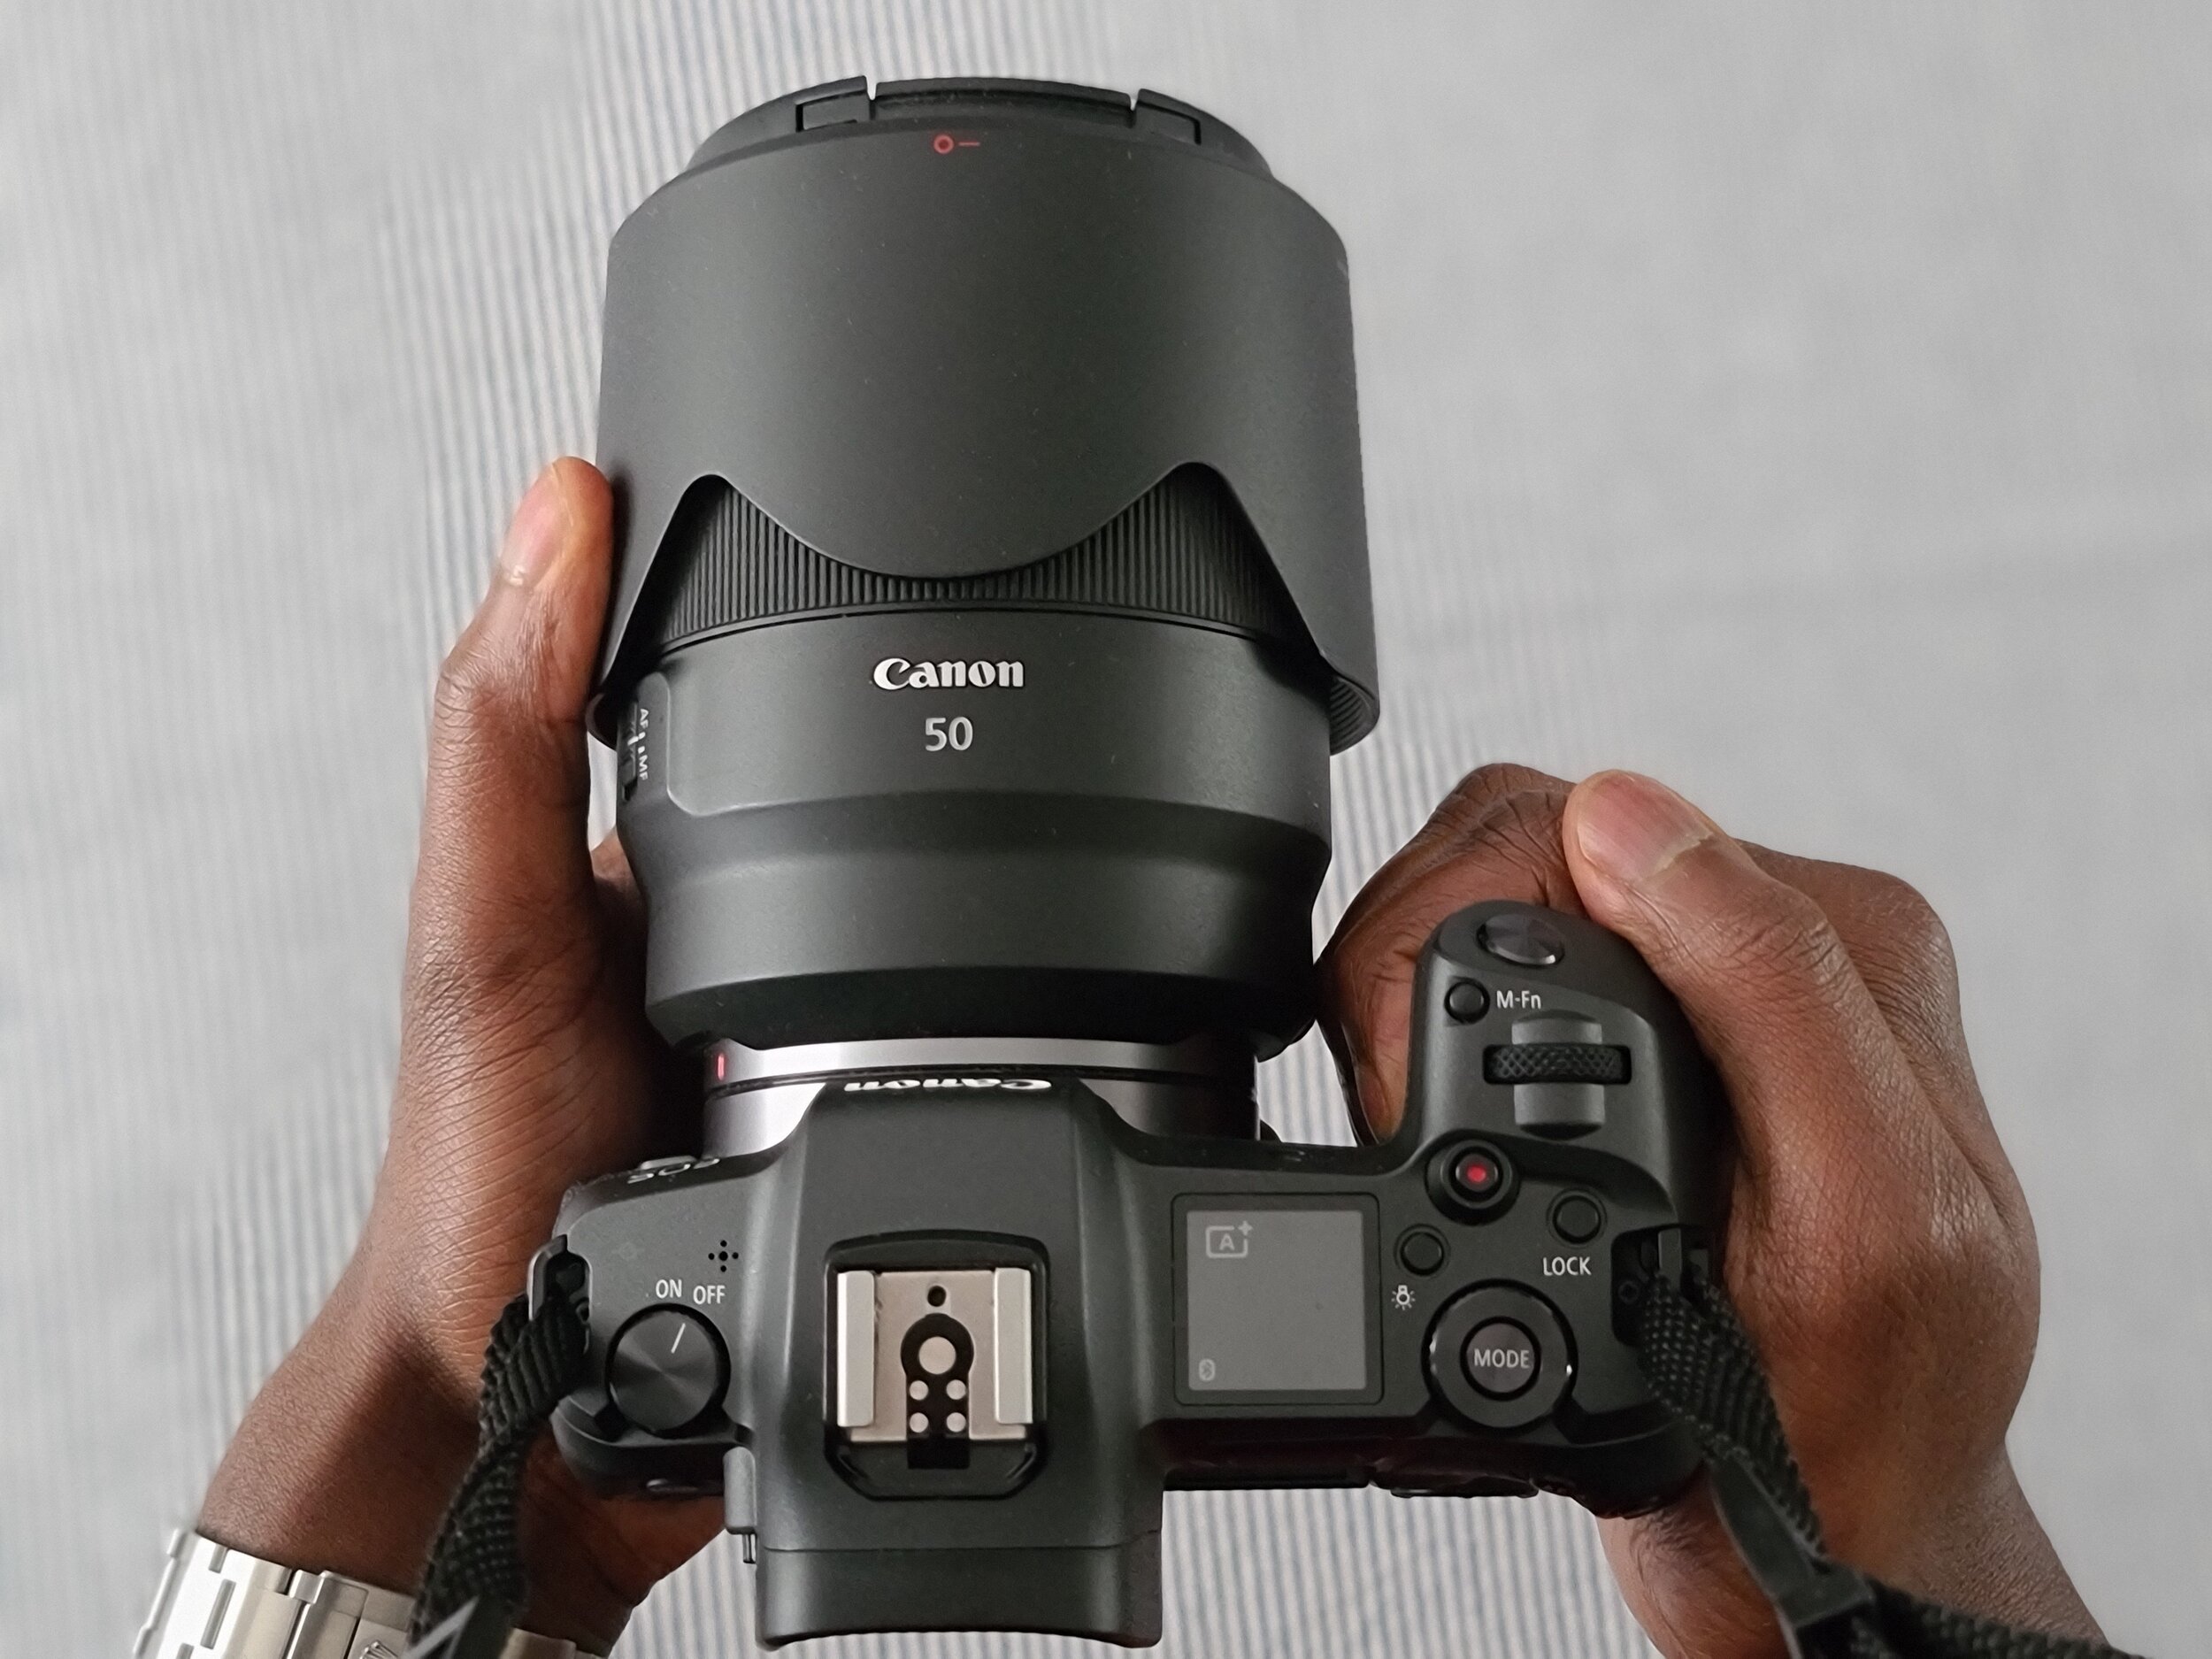
Camera used: Canon Eos R
Lens: 50mm F1.2
Canon Eos R + 50m F1.2
Camera Settings:
Manual
F Stop: F1.2
Exposure time: 15secs
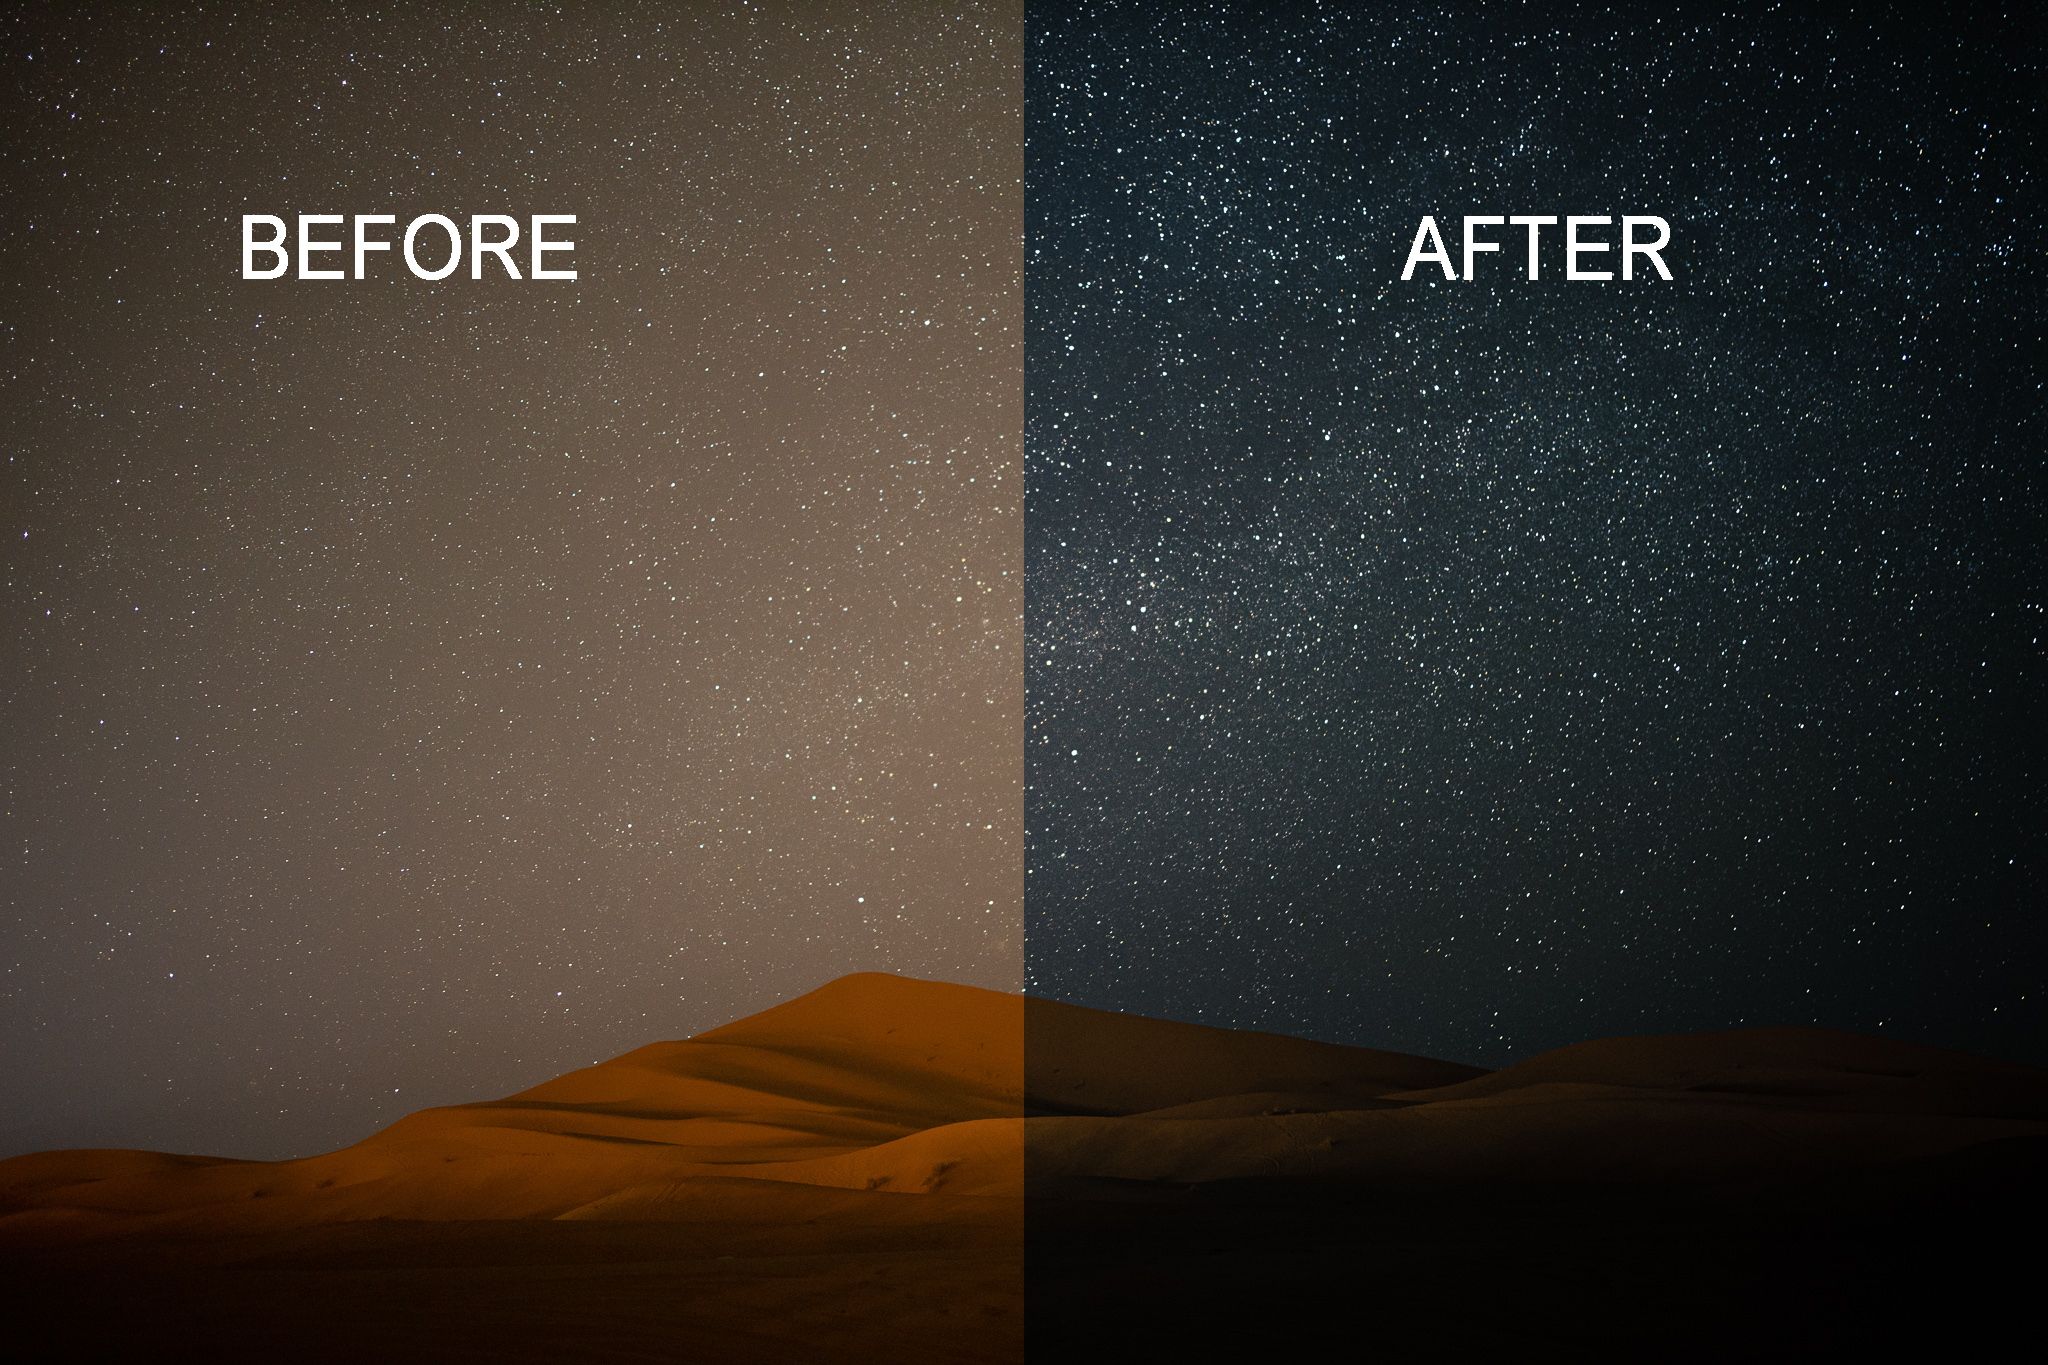
Before Image:
After Image:
There are many programs out there to edit your photo, I use Adobe Lightroom but the principle is the same across the board.
Let’s get started by opening up Lightroom.
Step 1 - Basic Corrections aka Light
Once I’ve uploaded the image from my hard drive, I tend to do basic corrections first. I always start with exposure and contrast. With this image, what I want to do is bring the stars out and give that epic night time feel you see in many night time images. As you can see in the image below, there’s quite a difference between 0 and -0.90 on the exposure settings. Already we are beginning to see a change in the image.
I then move down the list until I’m happy with what I have. I drop my contrast to -12, highlights and shadows down to -50, whites to +46 to bring out the stars and slightly bring the blacks down to -3.
Step 2 - Tone Curves
I now head over to my tone curves, this is where I have fun and there’s a lot of playing around. What I’m looking to do is bring out a clear distinction between the stars and the night sky. I put my key markers on the HIGHTLIGHTS (Top), LIGHTS (Middle), and DARKS (Bottom) and begin to ever so slightly adjust them.
I normally start with the bottom, the darks, and make my way to the top. I’m looking for an S-shape on the curve. As you can see in the image below, the sky is looking like it’s coming to life.
I make my way through the Reds, Blues, and Green channels and do the same thing and slightly adjust as I go along.
Step 3 - Color
I move over to the Color section and start with the white balance. Some people tend to start with white balance right at the beginning but I’m a bit different and work backward. I like to tweak along the way. You can also set your white balance in the camera but with today’s technology and programs at our disposal, you can easily correct your white balance on an image - Disclamer - You can not do this for video!!
Right now my image looks orange and I want the sky to look a bit space blue. I am going to bring my white balance down from 5050 to 4195. The sky is now looking like that epic night sky we all see in images. I work my way down and adjust my vibrance and saturation to -14. I’m going to leave my tint the way it is.
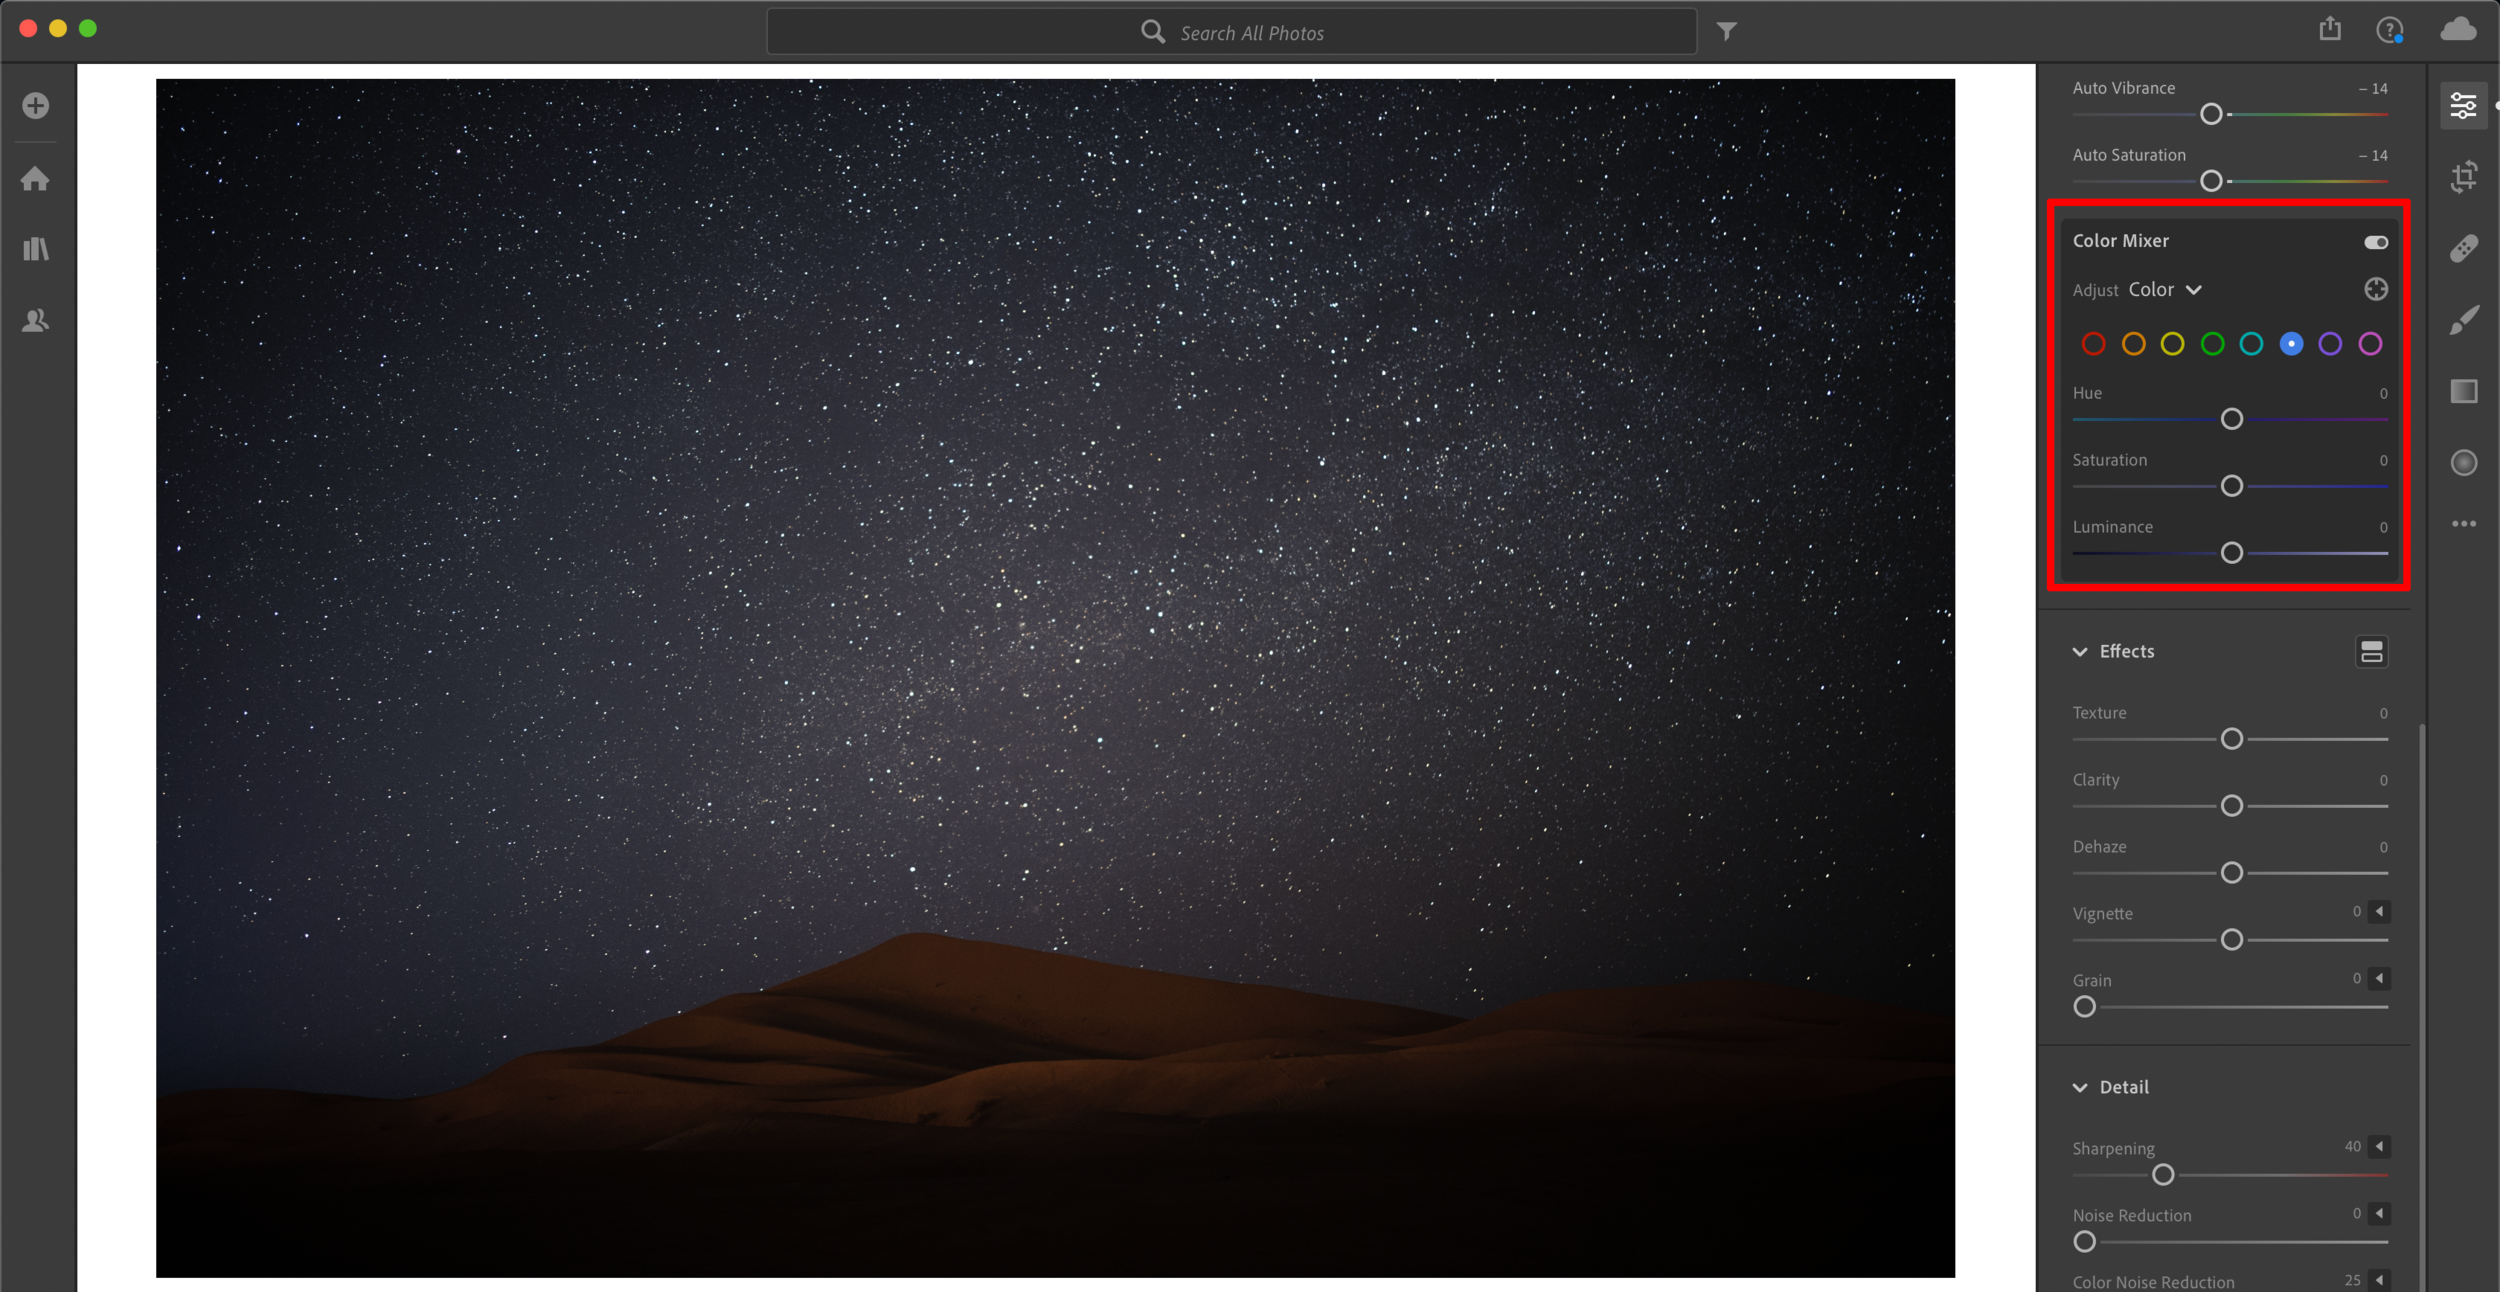
Step 4 - Color Mixer
In this section, I am tweaking and adjusting specific colors and bringing them out. What I really want to do is bring life to the sand dune we have as our main centerpiece. I click on the orange segment and bring the saturation to +48 and luminance to +43. You can see sand dune come to life and there’s some 3D texture to it.
Step 5 - Effects
The stars feel a bit too soft. In this step, I want to bring life to the stars and make them pop. I start with texture and bring it up to +22, clarity to +10, and finally dehaze +13. The stars are now much sharper than before.
Step 6 - Tweaking
In my final step, I go through this all again until I’m at a place where I’m happy. With this image, I wasn’t too happy with the color I was getting. I decided to back to the Tone Curves and make the image a little bluer, but not too much.
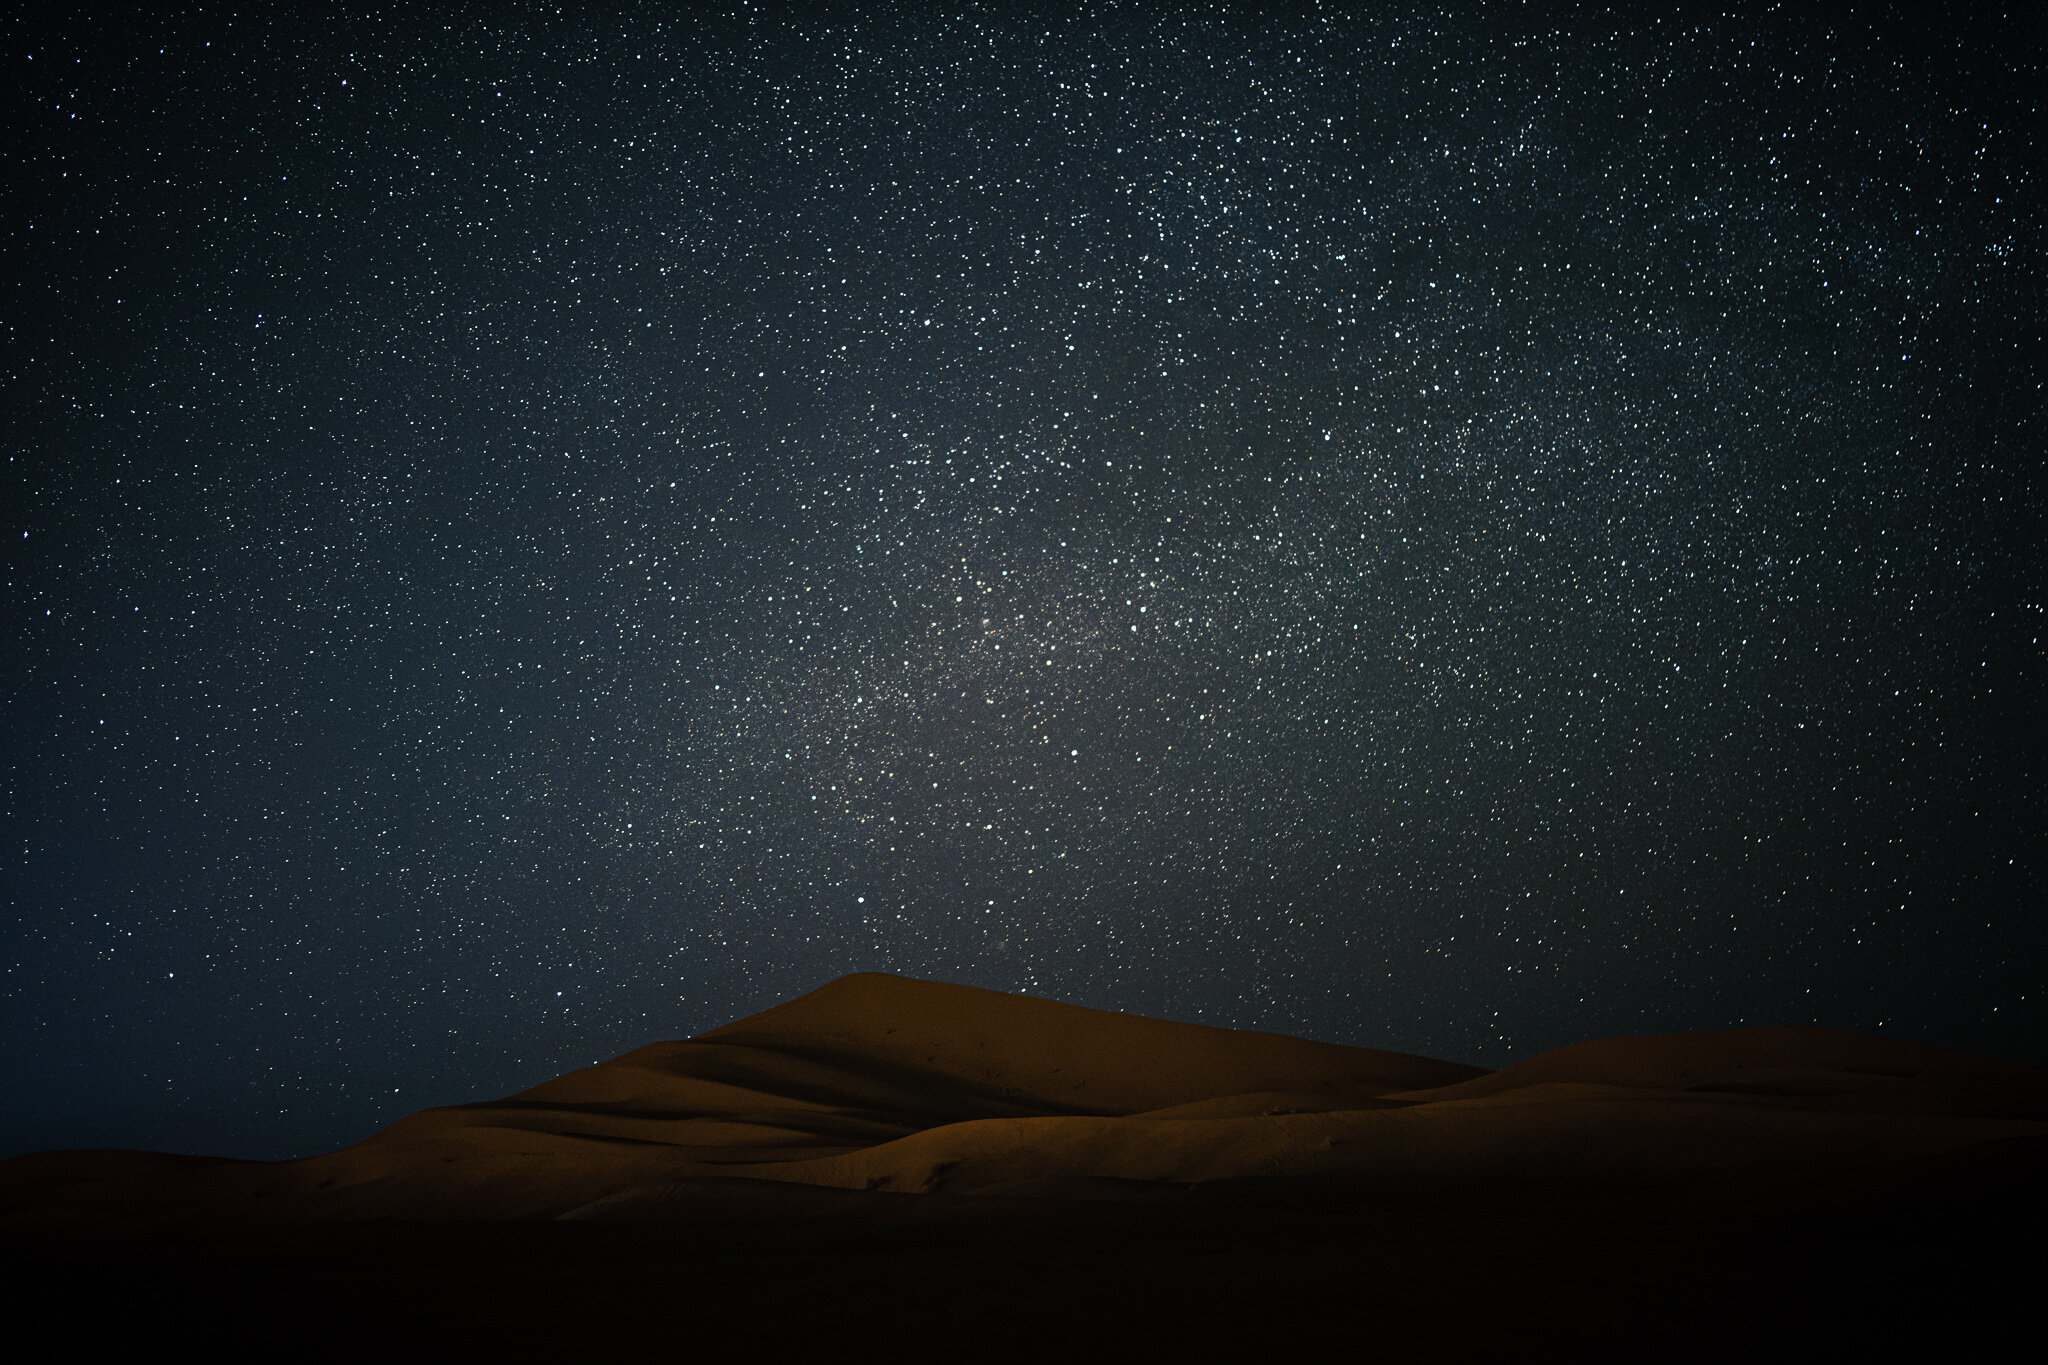
Final Image
Getting the image is half the battle, editing is another. If you are a beginner or a professional, stick to these 6 simple steps and you should get something with decent value. I tend to move all over the place as I edit, especially if there’s an issue with the image e.g. overexposed, dust particles etc. Edit at your own pace and work in a way that suits you. This tutorial should serve you as a guide, not a mandatory way of editing. RULES ARE THERE TO BE BROKEN.
If you enjoyed reading this, please leave a comment below. If there are any other tutorials you would like me to go through, please share below.
Thank you!


